
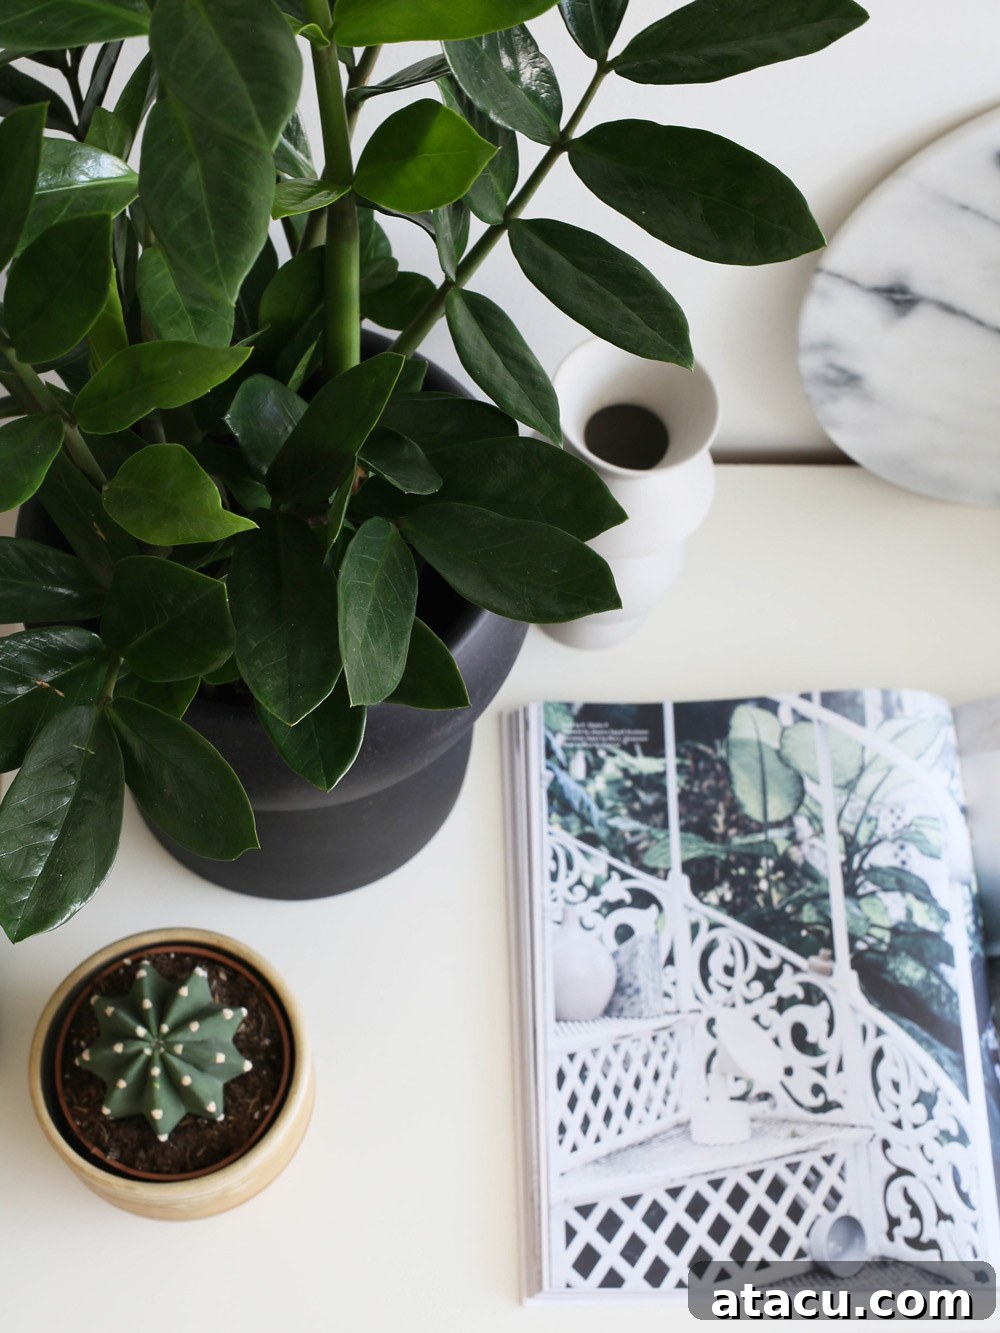
Are you searching for the perfect houseplant to infuse your living space or office with vibrant life, exceptional resilience, and striking beauty? Look no further than the remarkable Zamioculcas zamiifolia, affectionately known as the ZZ Plant. With its distinctly glossy, dark green foliage and robust, upright growth habit, the ZZ Plant is a true botanical standout, promising to elevate any interior with its effortless charm and sophisticated presence.
The ZZ Plant has long been a personal favorite of mine, largely due to its incredible hardiness and ability to thrive in conditions that would challenge most other houseplants. I recall one particularly resilient specimen that graced a rather soulless corporate office where I once worked. It was, by all accounts, neglected – rarely watered, and I don’t believe it ever received any fertilizer. Yet, against all odds, it flourished, maintaining a cheerfully sturdy and healthy appearance. Its vibrant presence provided a much-needed focal point, adding a touch of natural beauty and an unexpected splash of life to an otherwise drab and uninspiring environment. This firsthand experience solidified my appreciation for the ZZ Plant’s unwavering ability to endure and even thrive, making it an ideal choice for both seasoned plant enthusiasts and absolute beginners alike.
Today, I’m thrilled to partner with The Joy of Plants to share how I’ve seamlessly integrated this magnificent plant into my home office, transforming it into a more serene and visually appealing workspace. This collaboration highlights the versatility and aesthetic appeal of the ZZ Plant, demonstrating how even a single, well-chosen botanical element can make a significant difference in personalizing and enriching your indoor environment.
Originating from the arid landscapes of East Africa, the Zamioculcas zamiifolia naturally grows wild across diverse regions including Kenya, Zimbabwe, Tanzania, Malawi, and Zanzibar. Its geographical roots are key to understanding its exceptional drought tolerance and low-maintenance requirements. This remarkable plant has evolved to store water and nutrients within its thick, potato-like rhizomes, which are subterranean stems, and its fleshy, swollen leaf petioles (the stalks connecting leaves to the main stem). This unique adaptation allows it to subsist on these reserves during prolonged dry spells, making it incredibly forgiving if you occasionally forget to water it.
Indeed, the ZZ Plant is widely considered one of the easiest houseplants to care for, earning it a reputation for being ‘virtually unkillable.’ Even if you’re convinced you lack a green thumb, you’ll find it remarkably difficult to cause this plant harm. Its ability to withstand infrequent watering makes it an excellent choice for busy individuals or those who travel frequently. For instance, if you’re planning a summer holiday for a week or two, a quick drink before you leave is usually all it needs to happily survive unattended. Its inherent resilience and low demands make it a perfect companion for modern living, providing lush greenery without the constant worry of wilting or decline.
Comprehensive Care Guide for Your Zamioculcas Zamiifolia (ZZ Plant)
The Zamioculcas zamiifolia, or ZZ Plant, is celebrated for its low-maintenance nature, but understanding a few key care principles will ensure it not only survives but truly flourishes. Its adaptability makes it suitable for a wide range of indoor environments, yet optimal conditions will encourage more vigorous growth and a healthier, more vibrant appearance.
- Light Requirements: The ZZ Plant is incredibly adaptable when it comes to light. It can comfortably grow in either a low-light environment or a brighter spot with indirect light. While it tolerates dim corners, it truly thrives in medium to bright, indirect sunlight, which encourages more robust growth and glossier foliage. Avoid direct, intense sunlight, as this can scorch its leaves and cause discoloration. A north-facing window or a few feet away from an east or west-facing window is often ideal.
- Temperature Preferences: Keep your ZZ Plant away from cold drafts and ensure it’s placed in a stable environment. It prefers average room temperatures, ideally between 18°C and 26°C (65°F and 80°F). Do not allow the temperature to fall below 15°C (59°F), as prolonged exposure to cold can stress the plant, leading to leaf drop or stunted growth. Protecting it from sudden temperature fluctuations is also beneficial.
- Watering Wisdom: This is perhaps the most critical aspect of ZZ Plant care. The ZZ Plant is highly susceptible to overwatering, which can quickly lead to root rot – its primary killer. Always err on the side of underwatering rather than overwatering. Allow the soil to dry out completely between waterings, typically every 2-4 weeks, depending on light conditions, temperature, and pot size. In winter, when growth slows, reduce watering frequency even further. Before watering, stick your finger about two inches into the soil; if it feels dry, it’s time to water. Ensure your pot has drainage holes to prevent the plant from sitting with its “feet” constantly in water, which can be detrimental.
- Soil and Potting: A well-draining potting mix is essential for the ZZ Plant. A standard houseplant potting mix amended with perlite or sand, or a specialized cactus and succulent mix, will provide the necessary drainage. When it comes to repotting, the ZZ Plant appreciates being slightly root-bound. Move it to a larger pot only when you notice roots emerging from the drainage holes or if growth has visibly slowed due to lack of space. Typically, repotting every 2-3 years, or even less frequently, is sufficient. When repotting, choose a pot that is only one size larger than the current one to prevent excess soil from retaining too much moisture.
- Fertilization: The ZZ Plant is not a heavy feeder. During its active growing season (spring and summer), you can fertilize it once a month with a balanced liquid houseplant fertilizer diluted to half strength. Avoid fertilizing during the dormant winter months or immediately after repotting. Over-fertilization can lead to salt buildup in the soil, potentially harming the plant.
- Humidity: Average household humidity levels are perfectly fine for the ZZ Plant. It does not require high humidity and will tolerate drier indoor air without issue, another testament to its adaptability and low demands.
- Pest and Disease Resistance: One of the many benefits of the ZZ Plant is its general resistance to most common houseplant pests and diseases. However, occasionally, it might encounter spider mites, mealybugs, or scale. Regularly inspect your plant’s foliage. If pests are detected, treat with insecticidal soap or neem oil. Root rot, as mentioned, is the most common disease, almost always a result of overwatering.
- Toxicity: It’s important to note that all parts of the ZZ Plant are considered mildly toxic if ingested, due to the presence of calcium oxalate crystals. This can cause irritation to the mouth, throat, and digestive tract. Keep it out of reach of curious children and pets, and always wear gloves when handling the plant, especially when pruning or repotting, to avoid skin irritation.
- Pruning and Propagation: Pruning is rarely necessary, usually just to remove any yellowing or damaged leaves at their base. The ZZ Plant can be propagated through stem cuttings (allowing the cut end to callus before planting), leaf cuttings (which take a very long time), or by dividing the rhizomes when repotting.
Beyond its easy-care nature, I am particularly drawn to the ZZ Plant’s robust and stoic quality. Its ability to stand imperturbably upright, with its strong, architectural form, adds an immediate sense of calm and collected elegance to any room. It has a sculptural presence that feels both modern and timeless. Furthermore, Zamioculcas zamiifolia is widely recognized for its potential air-purifying qualities, contributing to a healthier indoor environment by filtering out certain toxins, as highlighted by various studies, including some from NASA. While the extent of its air-purifying power in a typical home setting might be debated, the perception alone adds another layer of appeal to this already impressive plant.
The ZZ Plant, with its bold structure and commanding presence, truly shines when displayed in an equally bold and well-chosen pot. The container plays a crucial role in enhancing its inherent beauty and integrating it seamlessly into your interior design scheme. For my office, I specifically selected a curvaceous black planter. This choice wasn’t arbitrary; the deep, rich black provides a powerful visual anchor, contrasting beautifully with the plant’s vibrant green foliage and creating a sophisticated, contemporary look. The planter’s rounded form also offers a soft counterpoint to the ZZ Plant’s strong, upright shoots, resulting in a harmonious and eye-catching display. This thoughtful pairing elevates the plant from a simple accent to a focal point, drawing the eye and adding an undeniable touch of design flair.
My home office features a deliberately restricted color scheme, primarily revolving around black and white. While this monochromatic palette creates a sleek and minimalist aesthetic, I felt that the space needed a little softening and an injection of warmth and organic texture. To achieve this, I decided to introduce cork elements. Initially, I had envisioned a small DIY hack involving adding a decorative band of cork to the base of the large black planter I used for the Zamioculcas. However, after some experimentation, I realized that the visual balance of this particular arrangement wasn’t quite right. Undeterred, I explored other possibilities, playing around with a few different pot shapes and display configurations until I found a solution that perfectly met my aesthetic goals.
This iterative design process led me to create a charming cube-shaped planter, which began its life as a simple black plastic pot. By applying a thin, self-adhesive cork sheet to its exterior, I transformed it into a piece that now adds a delightful and much-needed contrast to the crisp black and white elements dominant in the room. The natural, earthy texture of the cork introduces warmth and an organic feel, preventing the space from feeling too stark or cold. Furthermore, the geometric simplicity of its cube shape provides a pleasing counterbalance to the more dominant and expansive circular form of the black planter I chose for the Zamioculcas. This thoughtful juxtaposition of shapes and textures contributes significantly to the overall visual interest and harmony of my office space, proving that even small DIY projects can have a big impact on interior design.
Creating this custom cork planter is not only aesthetically rewarding but also a super quick and incredibly easy DIY project that anyone can undertake, regardless of their crafting experience. It’s an ideal way to add a personalized touch to your plant collection and introduce a unique material element into your decor.
Simple Cork Planter DIY Project: Step-by-Step Guide
Elevate a basic planter with the natural charm of cork using this straightforward DIY project. It’s a fantastic way to personalize your plant display and add tactile warmth to your interior styling.
You will need:
- A roll of high-quality self-adhesive cork sheet (ensure it’s thick enough to be durable but flexible).
- A cube-shaped planter or container (a cylindrical shape also works beautifully if that suits your aesthetic). Make sure the surface of the pot is clean and smooth for optimal adhesion.
- A self-healing cutting mat to protect your work surface.
- A sharp scalpel or craft knife for precise cuts.
- A long metal ruler or straight edge to ensure perfectly straight lines.
- Optional: A squeegee or credit card for smoothing the cork sheet during application.
Step-by-Step Instructions:
- Prepare Your Pot: Before you begin, ensure your planter or container is clean, dry, and free of any dust or grease. This will help the adhesive cork sheet adhere properly and smoothly.
- Measure Accurately: Carefully measure the exact height of your pot. Then, measure the circumference of the pot (the distance all the way around it). For a cube planter, you might measure each side individually and cut four separate panels, or measure the full circumference if you prefer a seamless wrap. For a cylindrical pot, measure its height and the total circumference.
- Mark the Cork Sheet: Turn the self-adhesive cork sheet over to its backing paper side. Using your metal ruler and a pencil, meticulously mark the dimensions you just measured onto the back of the cork sheet. Double-check your measurements to avoid errors.
- Cut with Precision: Place the marked cork sheet onto your cutting mat. Using your sharp scalpel or craft knife and the metal ruler as a guide, carefully cut the cork sheet to size. For very thick cork, you might need to make several light passes with the knife rather than trying to cut through it all at once, to ensure a clean, straight edge. Safety first: always cut away from your body.
- Apply the Cork Sheet: This step requires a steady hand. Peel back a small section of the film from the back of the cork sheet to reveal the adhesive surface, starting from one edge. Align this edge precisely with the edge of your pot. Slowly and carefully begin to apply the cork sheet to the pot, gradually peeling back the remaining film as you go. As you apply, use your fingers, or preferably a squeegee or credit card, to smooth out any air bubbles, working from the center outwards. Ensure the cork is pressed firmly onto the pot’s surface for good adhesion.
- Finishing Touches: If you’re wrapping a cylindrical pot, aim to meet the edges neatly without too much overlap. For a cube, ensure each panel is perfectly aligned. Once applied, press firmly all over to ensure the cork is fully adhered. Your new, stylish cork planter is now ready to showcase your favorite ZZ Plant!
Cork is an exceptional material – naturally warm, incredibly tactile, and inherently sustainable. It’s also not typically what one would expect to find plant pots made from, which makes this DIY project all the more unique and appealing. Utilizing a layer of self-adhesive cork sheet as a decorative wrap is not just a creative hack; it’s a quick, easy, and impactful way to introduce a distinct and natural texture into your plant pot collection. It offers an understated elegance and a rustic charm that can beautifully complement a wide array of interior styles, from minimalist to bohemian. This simple alteration can transform an ordinary planter into a bespoke design element, adding depth and character to your indoor botanical display.
This article was proudly posted in collaboration with The Joy of Plants, whose inspiring Houseplant of the Month campaign I am absolutely delighted and honored to be a part of. We hope this comprehensive guide inspires you to welcome the resilient and beautiful ZZ Plant into your home and perhaps even try your hand at this simple yet transformative DIY cork planter project.