
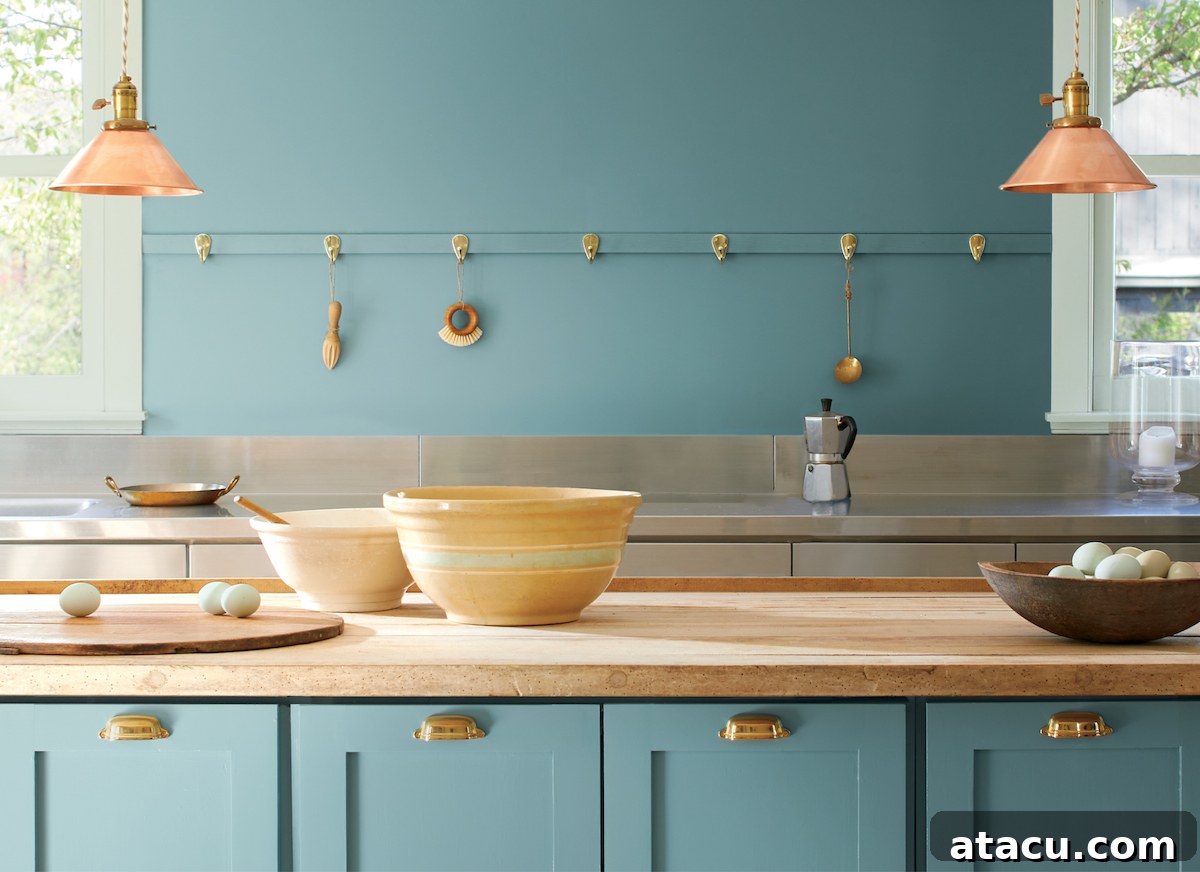
Transforming your kitchen doesn’t always require an extensive, costly overhaul. Sometimes, the most dramatic and satisfying home improvement projects come from a simpler yet incredibly impactful change: painting your kitchen cabinets. This budget-friendly endeavor offers an exceptionally high return on investment (ROI), breathing new life into your space and giving it a completely refreshed aesthetic without the disruption and expense of a full renovation.
To bring you the most practical and reliable advice, I tapped into my vibrant Instagram community of passionate home DIY enthusiasts. These are individuals who have successfully navigated their own kitchen transformations, tackling everything from color selection to application techniques. Their real-world experiences, candid brand insights, and hands-on recommendations form the backbone of this comprehensive guide. Whether you’re aiming for a quick, temporary update or a resilient, professional-grade finish that stands the test of time, these community-tested picks and expert tips are designed to meticulously guide you through every step of the process, ensuring a stunning and durable result.
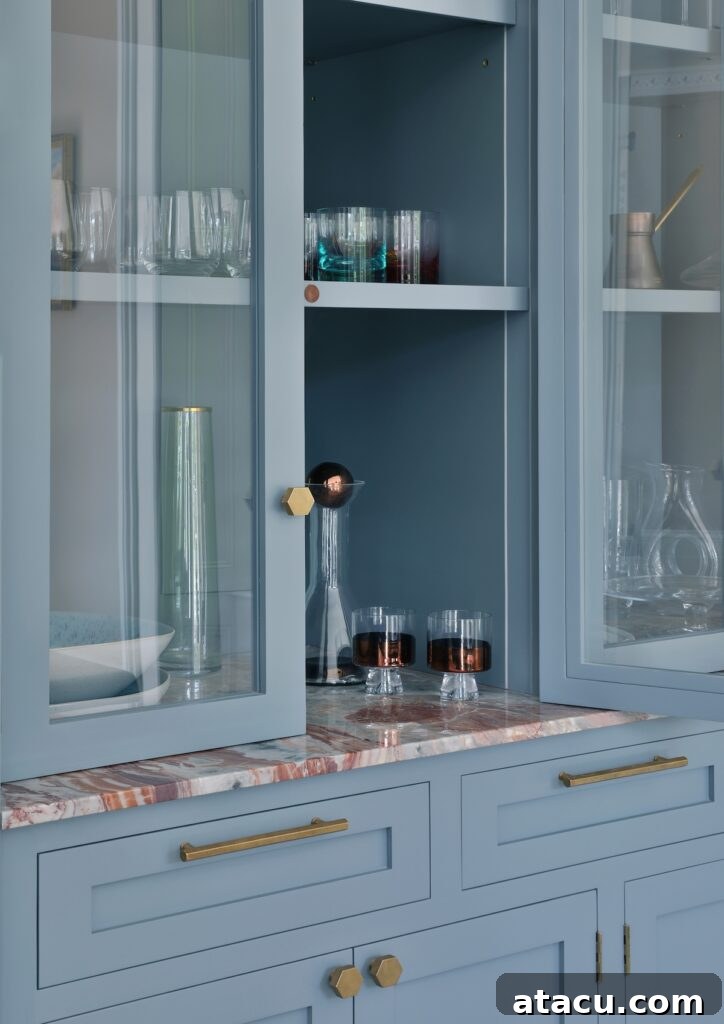
Achieving a Factory-Smooth Finish: Your Ultimate Guide to Painting Kitchen Cabinets
Painting kitchen cabinets is much more than just applying a new color, though the chosen hue undeniably makes a profound impact on your kitchen’s overall ambiance and design narrative. The true challenge and reward lie in achieving a finish that not only looks professional but also withstands the rigorous demands of daily kitchen life. Kitchen cabinets endure constant wear and tear – from greasy hands and accidental spills to countless openings and closings. Therefore, selecting the best paint for kitchen cabinets involves carefully considering a multitude of factors, including exceptional durability, low volatile organic compound (VOC) levels for indoor air quality, optimal drying times for efficient project flow, and ease of application to ensure a flawless result. The right paint choice ensures your cabinets will not only look magnificent but also maintain their pristine appearance for years, minimizing the need for frequent touch-ups and preserving the integrity of your hard work.
The Foundation of Flawless Cabinets: Essential Preparation Steps
Even the highest quality paint won’t perform optimally without proper surface preparation. This crucial stage lays the groundwork for impeccable adhesion and a long-lasting, factory-smooth finish. Skipping or rushing these steps is the most common cause of peeling, chipping, and an overall unsatisfactory result. Dedicate ample time to preparation – it’s an investment that truly pays off.
1. Thorough Cleaning and Degreasing
Before any sanding or priming, your cabinets must be immaculately clean. Kitchen environments are notorious for accumulating grease, grime, and food residue, which can severely hinder paint adhesion. Start by removing all cabinet doors, drawers, and hardware (hinges, knobs, pulls). Label them carefully to ensure easy reinstallation. Next, clean every surface thoroughly using a high-quality degreaser. Sugar soap is a popular choice for its effectiveness, but a mixture of warm water and a strong dish soap or a dedicated kitchen degreaser can also work wonders. Pay particular attention to areas around the stove and sink where grease tends to build up most. Rinse surfaces with clean water and allow them to dry completely before moving on.
2. Light Sanding for Optimal Adhesion
Once clean and dry, a light sanding is essential. You’re not aiming to strip the existing finish entirely, but rather to “de-gloss” the surface and create a slight texture for the primer to grip onto. Use a fine-grit sandpaper (around 180-220 grit) and gently sand all cabinet surfaces. For intricate areas and corners, a sanding sponge can be highly effective. After sanding, thoroughly wipe down all surfaces with a tack cloth or a damp cloth to remove any dust particles. Any remaining dust will compromise adhesion and result in a bumpy finish.
3. Repairing Imperfections
Inspect your cabinets for any dings, dents, or scratches. Use wood filler to patch these imperfections, allowing it to dry according to the manufacturer’s instructions. Once dry, sand the filled areas smooth with fine-grit sandpaper, ensuring they are flush with the surrounding surface. This attention to detail contributes significantly to a truly professional-looking finish.
The Power of Primer: Setting the Stage for Durability
Applying a high-quality primer is arguably the most critical step in achieving a durable, flawless finish that lasts. Primer acts as a vital bonding layer between the cabinet surface and your chosen topcoat, enhancing adhesion, sealing the wood, blocking stains, and providing a uniform base for the color. Never underestimate the power of a good primer, especially on kitchen cabinets.
- Zinsser BIN Primer: The Shellac-Based Workhorse
Highly recommended by DIY professionals and enthusiasts alike, Zinsser BIN is a shellac-based primer renowned for its exceptional adhesion and stain-blocking capabilities. It’s particularly effective at sealing in odors and blocking stubborn grease stains often found in kitchens, preventing them from bleeding through your topcoat. Its fast-drying nature allows for quicker project completion, though its strong odor means proper ventilation is crucial. It creates an incredibly solid foundation, making it ideal for challenging surfaces or when transitioning between drastically different colors. - Zinsser 1-2-3 Primer: The Versatile Water-Based Solution
For a more user-friendly and less odorous option, Zinsser 1-2-3 is a fantastic water-based primer. It offers excellent adhesion to a variety of surfaces and dries quickly, making it a favorite for those looking to expedite their painting project. Many community members praised its ability to create a consistently smooth base, ensuring your chosen paint color goes on flawlessly. While not as aggressive at stain-blocking as BIN, it’s perfectly suitable for most kitchen cabinet projects that have been thoroughly cleaned and degreased.
Choosing the Right Paint for Unrivaled Durability and Beauty
The market offers a vast array of paints, but for kitchen cabinets, you need specialized formulations designed to endure daily abuse. Here are some top picks, lauded by DIYers for their performance and aesthetic appeal:
V33 Cupboard and Cabinet Paint: The Durability Champion
V33 Cupboard and Cabinet Paint consistently receives high praise for its exceptional durability and resilience. Engineered specifically for cabinets, this paint is formulated to withstand the rigors of a busy kitchen, resisting stains, scratches, and everyday scuffs while maintaining a fresh, vibrant appearance. Its robust composition ensures a long-lasting finish that can be easily wiped clean, making it a practical choice for high-traffic areas. Many users report that V33’s finish looks just as good years after application, affirming its reputation for enduring results. It’s an investment in longevity, perfect for those seeking a truly hard-wearing solution.
Frenchic Alfresco Paint: Effortless Style and Resilience
Frenchic’s Alfresco range is celebrated for its ease of use and impressive results, particularly for DIY enthusiasts. A significant advantage is that this paint often eliminates the need for a separate primer, making it an excellent option if you’re looking for a swift and straightforward kitchen makeover. Frenchic Alfresco delivers a durable, chalky finish that, once fully cured, becomes remarkably tough and resistant. It’s an ideal choice for creating a soft, matte aesthetic with a velvety texture, providing a smooth and sophisticated look. While it offers a unique finish, it’s worth noting that while it boasts toughness, a topcoat might still be considered for extremely high-wear areas to maximize longevity and stain resistance, depending on your kitchen’s activity level.
Rust-Oleum Kitchen Cupboard Paint: Professional Finish, Budget-Friendly Price
Rust-Oleum Kitchen Cupboard Paint stands out as a top contender for those aspiring to a professional-quality finish without the premium price tag. Its formulation offers excellent coverage, meaning a little paint goes a long way, making it an incredibly budget-friendly option for renovators. Instagram’s vibrant DIY community consistently praises Rust-Oleum for its incredibly smooth application, remarkable leveling properties (which minimize brush strokes), and the high-quality, durable finish it delivers. This paint is specifically engineered for kitchen cabinets, offering robust protection and resistance to daily wear. Available in a diverse range of shades, it seamlessly integrates into any kitchen design scheme, providing a polished, premium look that defies its affordable cost.
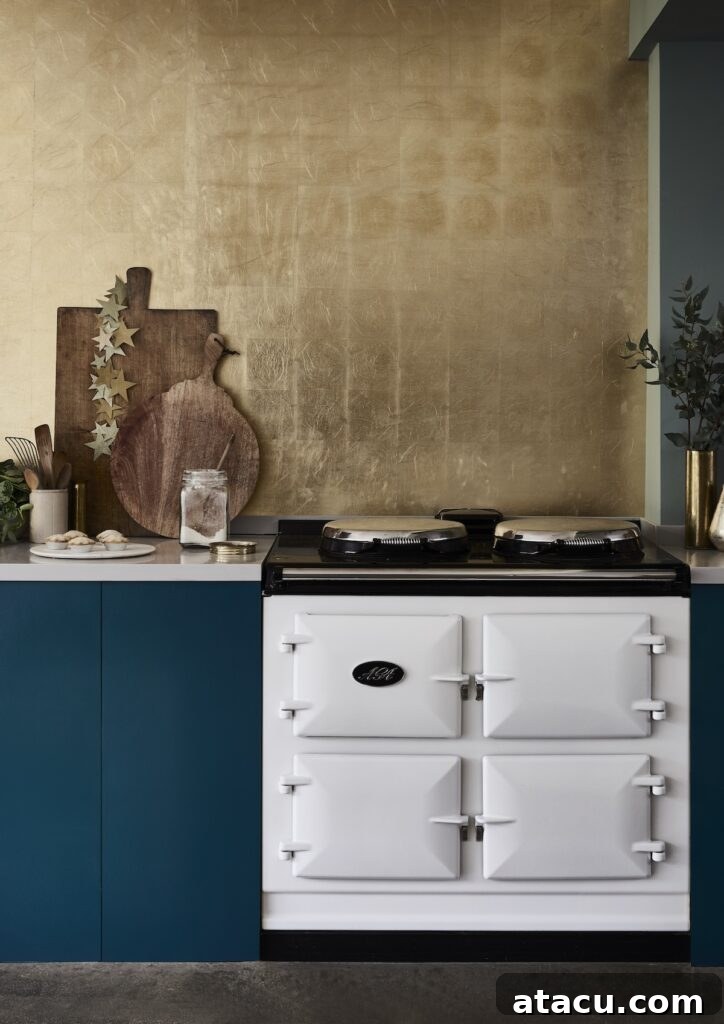
Annie Sloan Chalk Paint: Rustic Charm with a Creative Edge
Annie Sloan’s Chalk Paint is a beloved choice for kitchen cabinets, particularly for those seeking a rustic, vintage, or distressed aesthetic. Its widespread popularity stems from its exceptional ease of application and signature ultra-matte, chalky finish that instantly injects character into any kitchen. A key advantage of Annie Sloan Chalk Paint is its remarkable versatility; it adheres well to a vast array of surfaces, often without the need for extensive priming or sanding, significantly reducing preparation time. This makes it an attractive option for quick, transformative updates. The paint’s unique, textured look can add depth and personality to cabinets, and it’s available in a curated palette of warm, earthy colors. Furthermore, its low VOC content makes it a safer and more pleasant paint to use indoors.
While Annie Sloan Chalk Paint offers undeniable charm and ease of use, it’s important to understand its characteristics for kitchen application. Due to its porous, matte finish, it is inherently less durable against moisture, stains, and scratches than conventional cabinet paints. Therefore, for kitchen cabinets – which are high-traffic, high-contact surfaces – applying a protective topcoat of clear wax or a durable lacquer is absolutely essential. This added layer will seal the paint, providing the necessary resilience against daily wear, food splatters, and moisture, ensuring your beautifully painted cabinets remain protected and easy to clean.
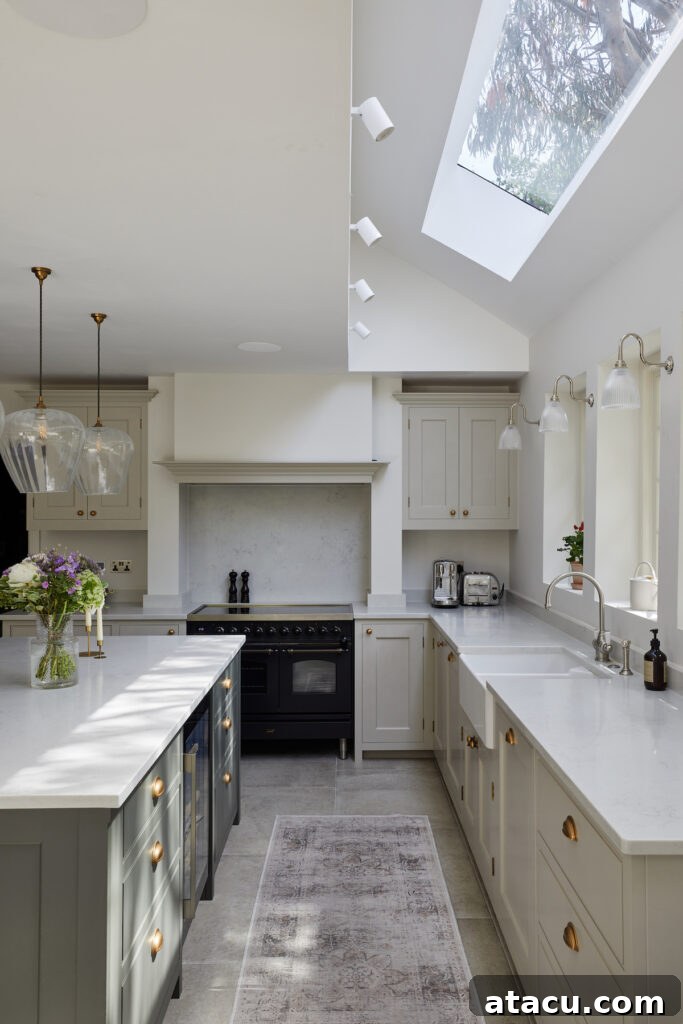
Little Greene Intelligent Satin: Sophisticated Durability
Little Greene is a brand synonymous with exceptional quality and luxurious finishes, and their Intelligent Satin finish is particularly revered for kitchen cabinets. This paint strikes a perfect balance between aesthetic appeal and robust functionality. Its formulation provides a tough, washable, and highly durable finish, specifically engineered to withstand the rigors of furniture and kitchen cabinetry. It actively resists stains, scuffs, and scratches, ensuring remarkable longevity and maintaining its pristine appearance over time. As an added benefit, Little Greene Intelligent Satin boasts a low VOC content, making it an environmentally conscious and safer choice for indoor painting projects. My personal experience with this paint on utility room doors and paneling confirms its sophisticated low-sheen finish and impressive resilience, which holds up beautifully even in active areas.
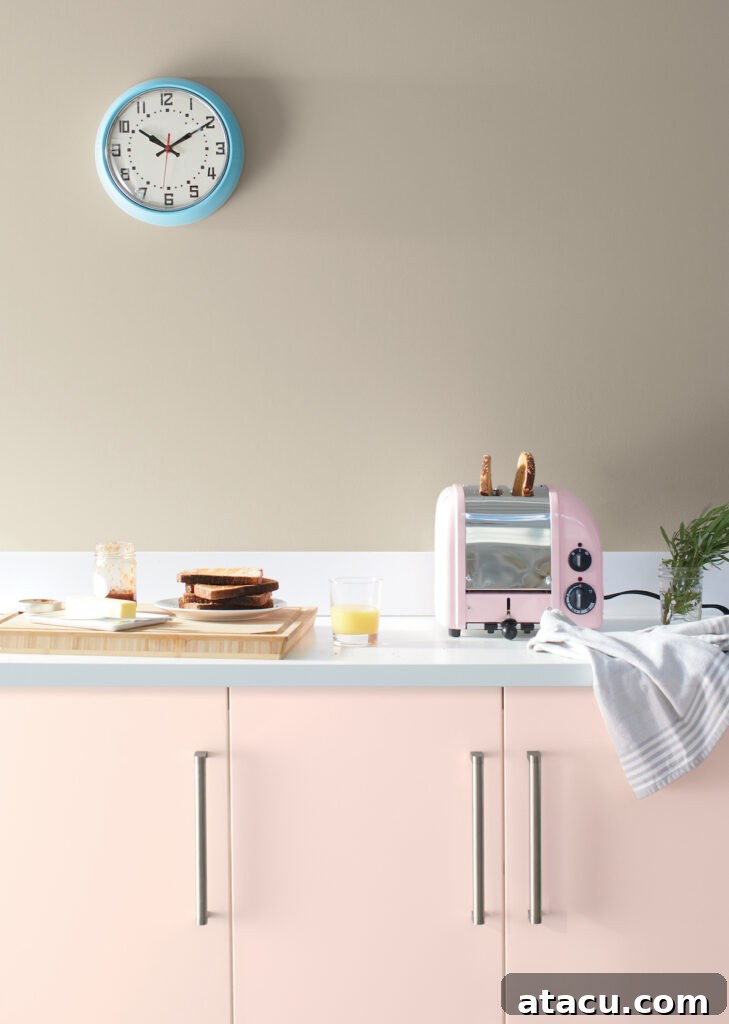
Benjamin Moore Advance: The Professional’s Choice for Smoothness and Resilience
Benjamin Moore Advance is consistently held in high regard by both DIY enthusiasts and seasoned professionals for its exceptional durability and its ability to achieve an incredibly smooth, professional-grade finish. This advanced waterborne interior alkyd paint masterfully combines the outstanding durability and hardness typically associated with oil-based paints with the user-friendly application and easy cleanup of water-based formulas. Its superior leveling properties are particularly noteworthy, ensuring a brushstroke-free, factory-like appearance on cabinets. Furthermore, Benjamin Moore Advance is low in VOCs, contributing to better indoor air quality during and after your painting project. While it may require slightly longer drying times between coats to allow its unique formulation to properly level and cure, the resulting resilient and polished look is unequivocally worth the wait. This paint delivers a truly hard-wearing finish that stands up to the toughest kitchen demands, making it a premium choice for long-lasting beauty.
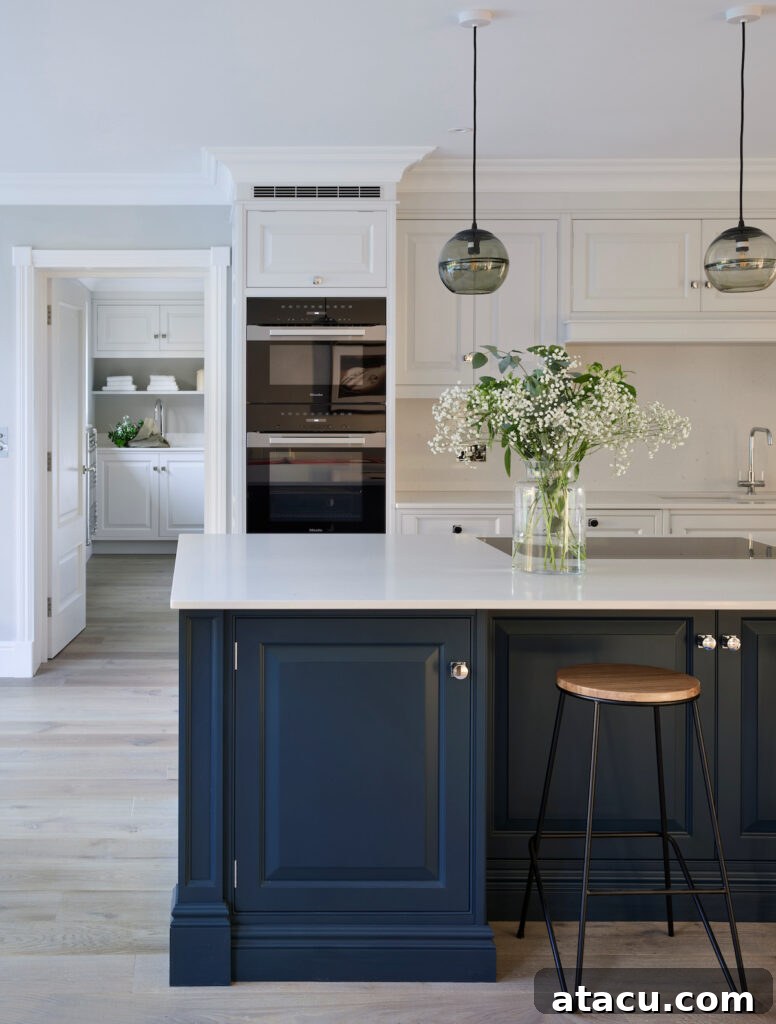
Farrow & Ball Modern Eggshell: Iconic Colors with Application Nuances
Farrow & Ball is celebrated globally for its exquisitely rich, high-pigment colors that impart a distinct depth and sophistication. Their Modern Eggshell finish offers a beautiful, low-sheen appearance that resists scuffs and is relatively easy to clean, making it an appealing option for interior woodwork. It also features a low VOC content, contributing to a healthier indoor environment. However, when it comes to kitchen cabinets, Farrow & Ball Modern Eggshell elicits a somewhat mixed response within the DIY community. Some users have found its durability to be less robust than other dedicated cabinet paints for the high-traffic, high-impact environment of a kitchen. Another frequent point of discussion is its application; achieving a perfectly smooth, brushstroke-free finish can be challenging due to its formulation, often requiring meticulous preparation and careful technique. For those who prioritize Farrow & Ball’s signature color palette, it’s crucial to acknowledge these nuances and commit to exceptionally diligent prep work and precise application to mitigate potential issues and achieve a professional-looking result. While the aesthetic appeal of their colors is undeniable, managing expectations regarding durability and application effort is key.
Essential Tools and Materials Checklist
Having the right tools at hand will make your cabinet painting project smoother and more efficient:
- Painter’s tape (FrogTape or similar for clean lines)
- Drop cloths or plastic sheeting
- Safety glasses and gloves
- Screwdriver set (for removing hardware)
- Degreaser (sugar soap, TSP alternative)
- Fine-grit sandpaper (180-220 grit) or sanding sponges
- Tack cloths
- Wood filler and putty knife
- High-quality primer (Zinsser BIN or 1-2-3 recommended)
- Your chosen cabinet paint
- High-density foam rollers (small 4-inch for smooth finish)
- Angled sash brushes (1.5 to 2-inch for details and corners)
- Paint trays and liners
- Drying racks for cabinet doors (optional but highly recommended)
Mastering Application: Tips for a Professional Finish
Even with the best preparation and paint, application technique plays a pivotal role in the final outcome. Following these tips will help you achieve that coveted factory-smooth finish:
- Thin, Even Coats Are Key: Resist the urge to apply thick coats, as this leads to drips, uneven textures, and extended drying times. Instead, apply multiple thin, even coats. This approach builds durability and ensures a smoother finish.
- Embrace Foam Rollers: For large, flat surfaces like cabinet doors and side panels, high-density foam rollers are your best friend. They distribute paint evenly and minimize brush strokes, resulting in a remarkably smooth texture. Use a 4-inch roller for optimal control.
- Utilize Quality Brushes for Details: For cabinet edges, recessed panels, and intricate corners, invest in a high-quality angled sash brush with synthetic bristles. This allows for precise application and helps avoid streaks in hard-to-reach areas.
- Work in Sections and Maintain a Wet Edge: Work on one cabinet or door at a time, moving quickly to maintain a “wet edge.” This means you apply new paint onto the still-wet edge of the previously painted section, preventing lap marks and ensuring a seamless finish.
- Allow Ample Drying and Curing Time: Patience is crucial. Always allow each coat of paint to dry thoroughly according to the manufacturer’s instructions before applying the next. This typically takes several hours. Beyond just being dry to the touch, paint needs time to “cure” – a chemical hardening process that can take days or even weeks – to reach its full durability. Avoid placing heavy objects or exposing cabinets to moisture during this critical curing phase.
Common Mistakes to Avoid When Painting Kitchen Cupboards
While painting kitchen cabinets is a rewarding DIY project, certain common errors can undermine your efforts. Being aware of these pitfalls will help you achieve a truly professional and lasting result:
- Skipping or Rushing Prep Work: This is the cardinal sin of cabinet painting. Any lingering grease, dirt, old gloss, or sanding dust will prevent the paint from adhering properly, leading to peeling, chipping, and an unsightly finish down the line. Always clean, degrease, sand, and dust meticulously.
- Choosing the Wrong Paint Type: Not all paints are created equal, especially for the demanding environment of a kitchen. Using standard wall paint or low-durability options will result in a quickly worn and damaged finish. Opt for paints specifically designed for cabinets, such as Benjamin Moore Advance, V33 Cupboard Paint, or Rust-Oleum Kitchen Cupboard Paint, known for their resilience and washability.
- Underestimating the Importance of Primer: Even if your chosen topcoat claims to be a “paint and primer in one,” a dedicated primer is almost always beneficial for kitchen cabinets. A quality primer, like Zinsser BIN or 1-2-3, ensures superior adhesion, blocks stains, and provides a uniform, non-porous surface, significantly reducing the risk of peeling and chipping.
- Rushing Drying and Curing Times: Impatience can ruin your finish. Applying subsequent coats too soon will lead to tacky surfaces, streaks, smudges, and compromised durability. Always consult the paint manufacturer’s guidelines for inter-coat drying times and understand that full cure can take much longer than simply being dry to the touch.
- Overloading Brushes or Rollers: Too much paint on your brush or roller will result in drips, runs, and a thick, uneven finish. Always apply paint in thin, even coats, and wipe off excess paint from your tools.
- Neglecting a Topcoat (Especially for Chalk Paints): While some durable cabinet paints may not strictly require an additional topcoat, it’s a vital step for specific finishes, particularly chalk paints. Annie Sloan Chalk Paint, for example, absolutely needs a protective clear wax or lacquer to shield its porous surface from stains and wear in a kitchen setting. A clear topcoat also adds an extra layer of durability and can enhance the sheen of matte or satin finishes.
- Not Removing Hardware: Painting around hinges, knobs, and pulls inevitably leads to messy edges and paint on your hardware. Always remove all hardware before painting for a clean, professional look and easier application.
Maintaining Your Newly Painted Kitchen Cabinets
Once your cabinets are beautifully painted and fully cured, a little ongoing care will keep them looking pristine for years. Use a soft cloth and mild, non-abrasive cleaner for regular wiping. Avoid harsh chemicals or abrasive scrubbers, which can damage the paint finish. Address spills promptly to prevent staining. With proper maintenance, your DIY painted kitchen cabinets will continue to be a source of pride and enjoyment.
By diligently following these preparation, paint selection, and application guidelines, your kitchen cupboards will not only boast a smooth, professional-quality finish but will also stand as a testament to your hard work and attention to detail. Enjoy your beautifully transformed kitchen!