
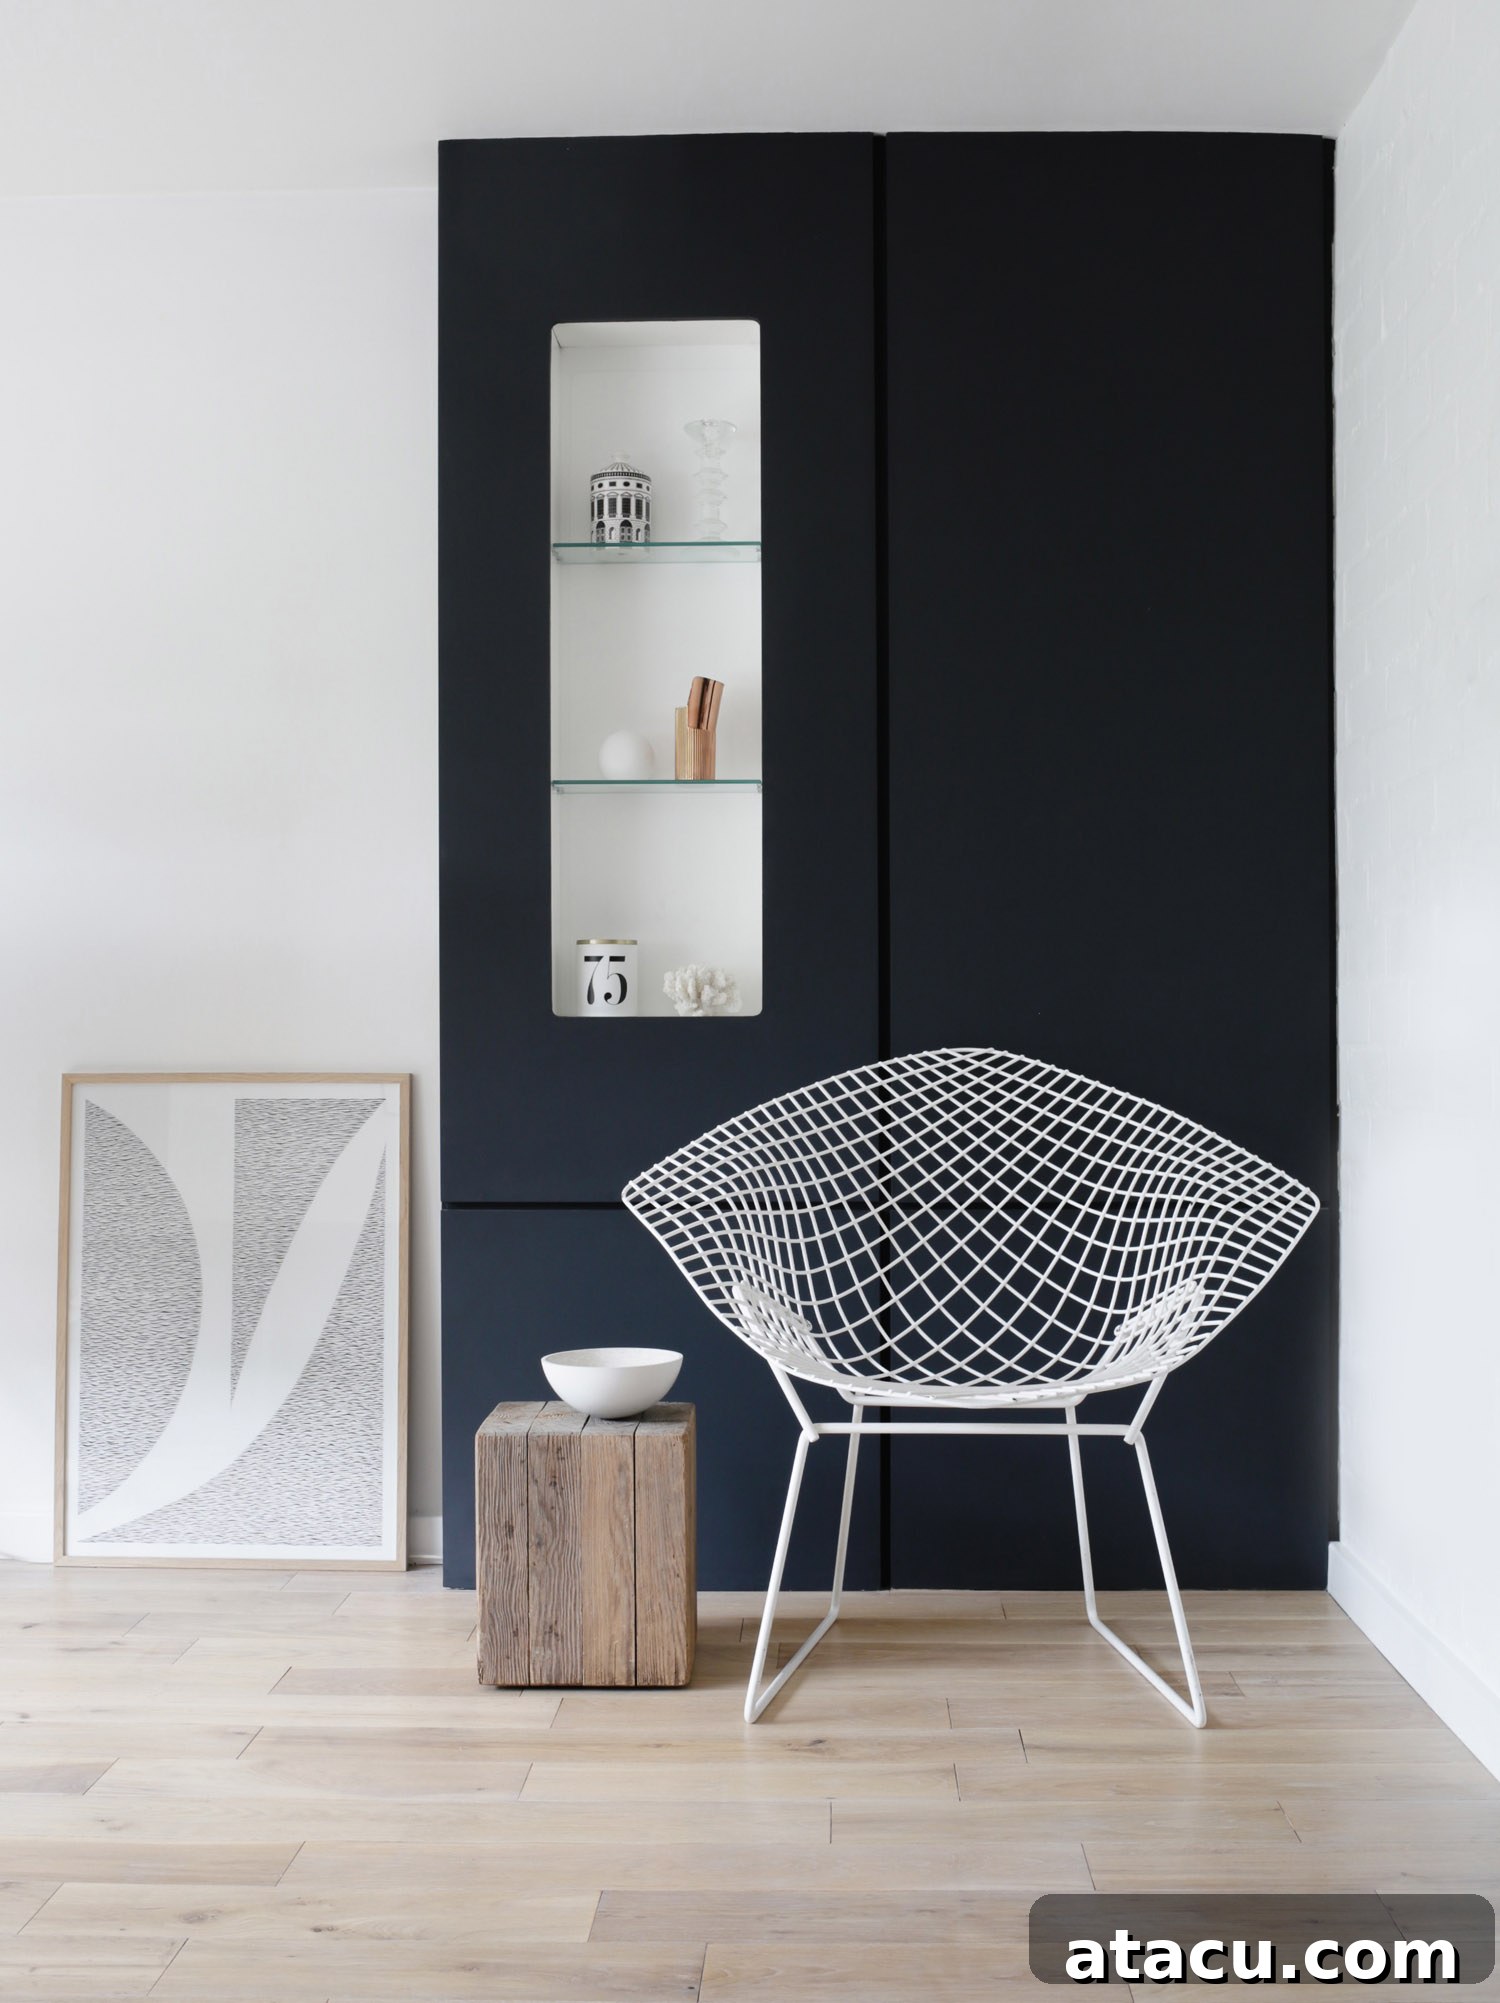
Transforming Our Living Room: A Deep Dive into DIY Hardwood Floor Refinishing
Last summer, we embarked on an ambitious home improvement project: updating our living room by sanding and refinishing its solid oak hardwood floor. This transformation was not just about aesthetics; it was about breathing new life into a cherished space that had gracefully aged over time. The decision to tackle such a significant undertaking ourselves stemmed from a desire to revitalize the room’s ambiance and achieve a fresh, modern look without the cost of a full replacement.
When we first converted this expansive area from its original use as a large garage several years ago, we chose to install beautiful solid oak hardwood flooring. Its natural beauty and durability were undeniable, and despite showing signs of wear, the flooring remained in fundamentally good condition. However, the relentless passage of time, coupled with the room’s south-facing orientation and expansive, full-width windows, meant it received an abundance of natural sunlight. While glorious, this continuous sun exposure had gradually altered the floor’s original hue, imparting a distinct yellowish tinge that detracted from its inherent warmth and elegance. We knew a change was due, aiming to strip back the accumulated layers of time and finish, revealing the pristine wood beneath, and then applying a new finish to achieve a much paler, whitened oak effect that would brighten and modernize the entire living space.
Before the Transformation: Sun-Kissed but Fading Floors
Before we embarked on this exciting journey of hardwood floor refinishing, let’s take a moment to appreciate the “before” state. As the accompanying images illustrate, the floor wasn’t in a terrible condition structurally, but the visual impact of its aged appearance was undeniable. The polyurethane in the original varnish had imparted a pronounced yellowish hue, particularly noticeable in areas most exposed to sunlight. This undesirable discoloration obscured the natural beauty of the solid oak, making the room feel somewhat dated and heavy. Our vision was clear: we aimed for a significant update, meticulously stripping the floor back to its pristine, bare wood, then meticulously refinishing it to achieve a desirable paler, almost whitewashed, oak effect. This would not only lighten the room dramatically but also bring a contemporary, Scandi-inspired freshness to our living space.
Preparation is Key: Setting the Stage for Success
Anyone who has undertaken a significant DIY project knows that preparation is often the most time-consuming, yet crucial, step. Our DIY floor sanding adventure was no exception. Before we even considered hiring the sander, we dedicated an entire day to meticulously preparing the living room. This involved completely emptying the space, carefully relocating every piece of furniture, decor, and personal item. Next, we undertook the critical task of dust mitigation. We meticulously taped up all cupboards and doors, creating an effective barrier to prevent the fine sanding dust from infiltrating other areas of the house. This foresight proved invaluable in minimizing post-project cleanup. Furthermore, to ensure a truly professional and seamless finish, we carefully removed all the skirting boards. This allowed us to sand right to the edges of the room, preventing any visible lines or inconsistencies. This preparatory phase, though laborious, proved its worth, reminding us once again that preparation always takes longer than you think, but it lays the foundation for a successful outcome.
The Sanding Saga: From Frustration to Flawless Finish
Choosing the Right Tool: A Learning Curve
With the living room now a completely empty canvas, the sanding could finally commence. Given that we were tackling solid hardwood flooring rather than softer pine floorboards, we consulted with the hire shop for their expert recommendation. They suggested the Bona Flexisand, a machine known for its rotating disc mechanism, which is often praised for its ease of use and ability to produce a smooth finish. Upon our initial trial, we were genuinely impressed. It was remarkably easier to maneuver than the heavy-duty drum sanding machines we had used in previous projects, offering a gentler, more controlled experience. An added bonus was its efficient dust collection system, which neatly captured almost all the sanding dust in a bag, promising a relatively clean operation. However, after a mere half-hour of persistent effort with the heaviest-duty grade of sandpaper available, a stark reality emerged: the Bona Flexisand, despite its merits, was simply not powerful enough to strip away the incredibly stubborn, aged varnish from our oak floor. It became clear that this machine, while excellent for lighter sanding or finishing, was not suited for a full varnish removal on sun-damaged hardwood.
Embracing the Power of the Drum Sander
Reluctantly, yet decisively, we returned the Bona Flexisand to the hire shop. Our pursuit of a truly effective solution led us to exchange it for a traditional drum sander – a decision that, while bringing more noise and mess, ultimately proved to be the correct one for hardwood floor restoration. The drum sander, with its aggressive sanding action, was significantly more effective at removing the resilient varnish. The transformation was dramatic; the varnish finally began to yield, revealing the beautiful pale oak beneath. This intensive phase required immense effort and collaboration, taking two of us two full days of relentless work. We meticulously guided the powerful machine across every inch of the floor, working methodically to ensure an even and complete strip. Following the primary sanding with the drum machine, we used an edging sander to reach into corners and along the perimeter of the room, ensuring every last trace of old finish was removed. After these demanding 24 hours of sheer hard work, we were left with a pristine, uniformly pale new floor, perfectly prepared and ready for the crucial refinishing stage.
Selecting the Perfect Finish: A Quest for Pale Perfection
Community Wisdom: Harnessing Instagram for Recommendations
With the arduous sanding complete, the next critical step was choosing the perfect finish to achieve our desired whitewashed oak flooring effect. I dedicated considerable time to researching various finishes, exploring options that would both protect the wood and deliver the aesthetic we envisioned. Recognizing the wealth of knowledge within the online DIY community, I reached out to my wonderful followers on Instagram, seeking their advice and recommendations. Their response was overwhelmingly helpful; I received a plethora of useful suggestions and insights from individuals who had recently undertaken their own flooring projects. This crowdsourced wisdom proved invaluable in navigating the vast array of available products and techniques.
Exploring Alternatives: Soap & Lye for a Scandi Look
Several people highly recommended a combination of soap and lye. This traditional Scandinavian technique is often employed to achieve a truly beautiful, pale, almost bleached effect, similar to the iconic Dinesen style flooring, particularly on Douglas fir. While it can also be used on hardwoods, its application and durability profile required careful consideration for our living room floor renovation. I initially explored products like Auro Hardwood Lye. However, after further investigation, it became clear that soap and lye finishes, while aesthetically stunning, are often best suited for relatively low-traffic areas. While it might have been an ideal choice for a bedroom or a guest room, I harbored concerns that it wouldn’t offer the necessary hard-wearing protection for our bustling living room, a high-traffic zone integral to daily family life.
Our Choice: Osmo Polyx Oil Tint in White (3040)
After careful consideration of all options, weighing durability against desired aesthetic, we ultimately opted for Osmo Polyx Oil Tint in White (shade 3040). This product is renowned for its ability to deliver a beautiful, subtle whitewashed or liming effect, perfectly aligning with our goal for a pale and fresh living space. A key advantage of the Osmo Polyx Oil Tint is its versatility; you can apply either one or two coats, depending on the intensity of the ‘white’ effect you wish to achieve. For our project, aiming for a distinct yet natural pale wood finish, we applied two light, even coats. The result was precisely the delicate, almost ethereal whitewashed oak that we had envisioned. It’s worth noting that this recommendation is purely based on our positive personal experience; this is not a sponsored post. I’m simply sharing the product details because so many people have inquired about our specific choice and its impressive outcome.
The Enduring Beauty: Long-Term Benefits and Reflections
Exceptional Durability and Ease of Maintenance
We were genuinely thrilled with the finish we achieved using the Osmo Polyx Oil Tint. The transformation of our living room floor was remarkable, exceeding our expectations for aesthetic appeal and creating a brighter, more expansive feel. Beyond the immediate visual impact, the practical benefits of Osmo are equally compelling. The finish is highly water repellent and remarkably dirt resistant, making it an excellent choice for a busy family living room. One of its most significant advantages, and a factor that heavily influenced our decision, is its unique repairability. Unlike traditional varnishes that often require a full re-sanding for touch-ups, Osmo allows for spot repairs to specific damaged areas. Furthermore, additional layers can be applied in the future without the arduous and messy process of further sanding, offering incredible long-term maintenance ease. This feature alone makes Osmo an outstanding contender for any future flooring projects in our new home; we would definitely consider using it again.
Cost vs. Effort: The DIY Dilemma
Reflecting on the entire floor transformation project, the total financial outlay was approximately £400, covering both the cost of the Osmo Polyx Oil Tint and the necessary sander hire. From a purely monetary perspective, this represents a highly affordable way to achieve such a significant room update. However, it’s crucial to acknowledge the colossal amount of labour involved. As mentioned, sanding hardwood flooring is an entirely different beast compared to the relatively straightforward task of sanding pine floorboards. It is considerably more labour intensive and physically demanding. The stubbornness of the old varnish meant that the removal process was particularly tough, requiring sustained effort over two full days for both of us to complete the sanding. This was followed by a couple more days dedicated to carefully applying the oil tint and allowing adequate time for it to dry and cure. While the satisfaction of sitting back and admiring the fruits of our own hard labour is immeasurable, and we are incredibly pleased with the results, I must confess that it is not a job I would be in a hurry to tackle myself again in the near future. The sheer physical exertion and the challenging nature of sanding hardwood make a strong case for considering professional help. To be honest, for our next hardwood floor project, I would likely opt to hire a professional to manage the sanding, saving ourselves the considerable trouble and physical strain, focusing instead on the more enjoyable aspects of design and finishing.
Looking Ahead: Future Flooring Adventures
Our journey with flooring projects is far from over. As we continue to renovate our new house, we have several exciting plans for different areas. For the main living room, we are envisioning the elegant sophistication of parquet flooring, which will add a touch of classic charm. The hallway, a high-traffic area that needs to withstand muddy boot and paw prints, will likely feature durable and stylish slate tiles, offering both practicality and aesthetic appeal. We are still undecided about the best flooring solutions for the kitchen and the various bedrooms, exploring options that balance functionality, comfort, and design. You can continue to follow our entire home renovation journey, including all our flooring decisions and their outcomes, on Instagram, where we regularly share updates and insights.
All images by Design Hunter.